Hello my friends!
Lately I’ve been deep in a chocolate and pears phase. I just love those tastes combination! I already gave you a Chocolate and Pear Poundcake recipe a while ago. Today, it will be a chocolat and pear cake, ready to be baked in only 10 minutes that will make everyone very happy around the table!
To tell you the truth, my 10 year old son asks for this very chocolate and pear cake at each birthday! Isn’t it the best proof? This chocolate and pear cake is a delight! Slightly crunchy on the sides and deliciously melting at heart…
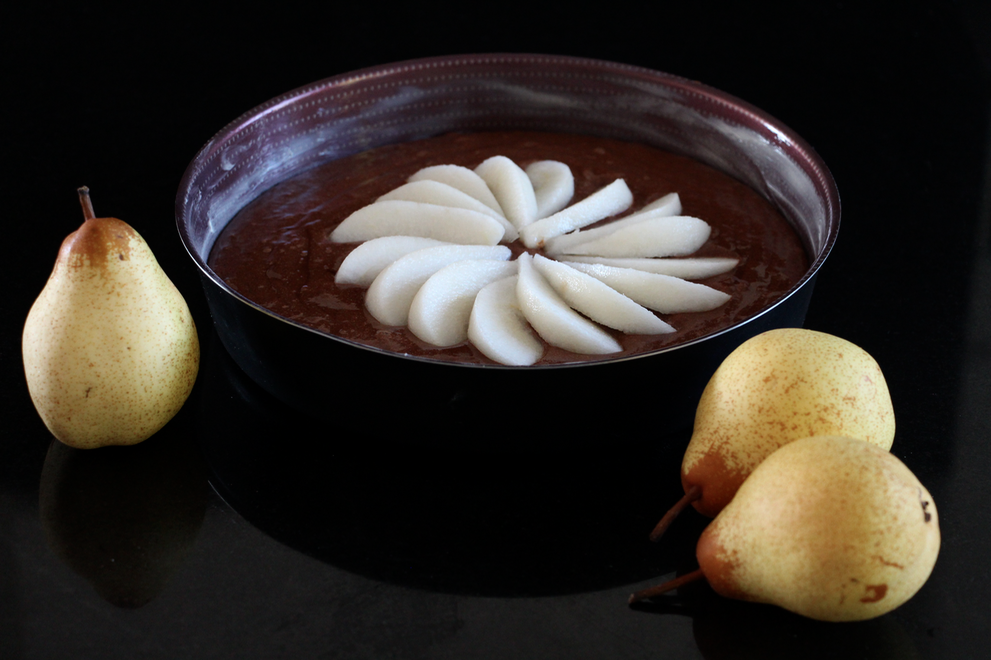
Besides, it’s a seasonal cake (you know I like to bake and cook seasonal products 😉 ), our grocery stores are full of pears lately, maybe some of us have pears in their own gardens. So it’s time to enjoy those babies!
This cake is the perfect treat for teatime with friends or family. And it’s a great afternoon snack for the children, whatever the occasion, it’s so much better than opening the industrial cakes cupboard.
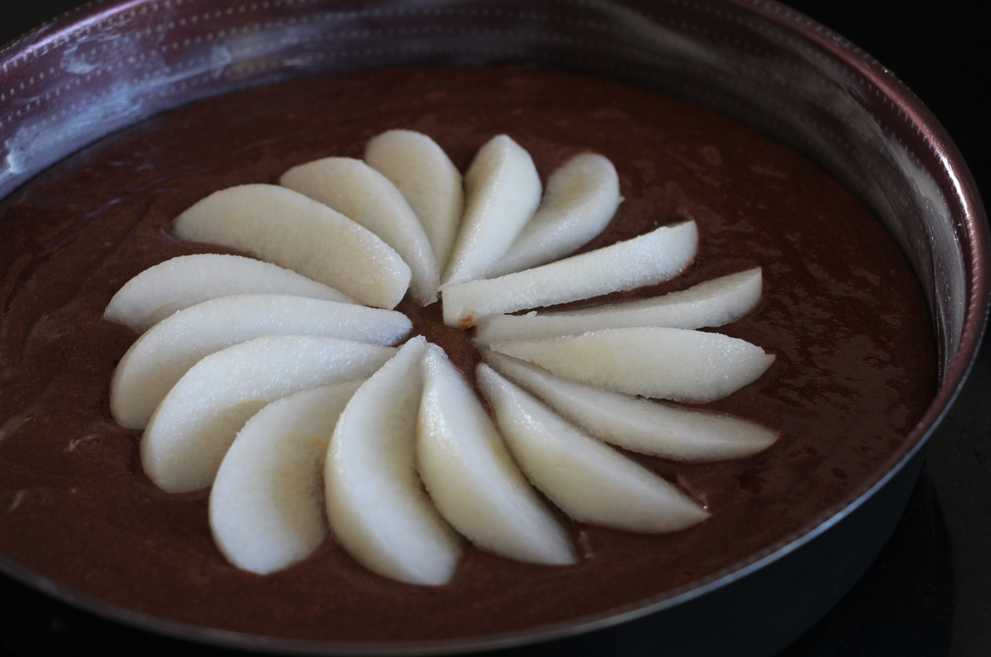
I won’t tell you that it is a light cake, but give a slice to your kids and they will be satiated.
You never really know what is inside industrial cakes, your kids need to eat a dozen before saying they aren’t hungry anymore. And don’t get me started on their price and all the packaging that goes with it…
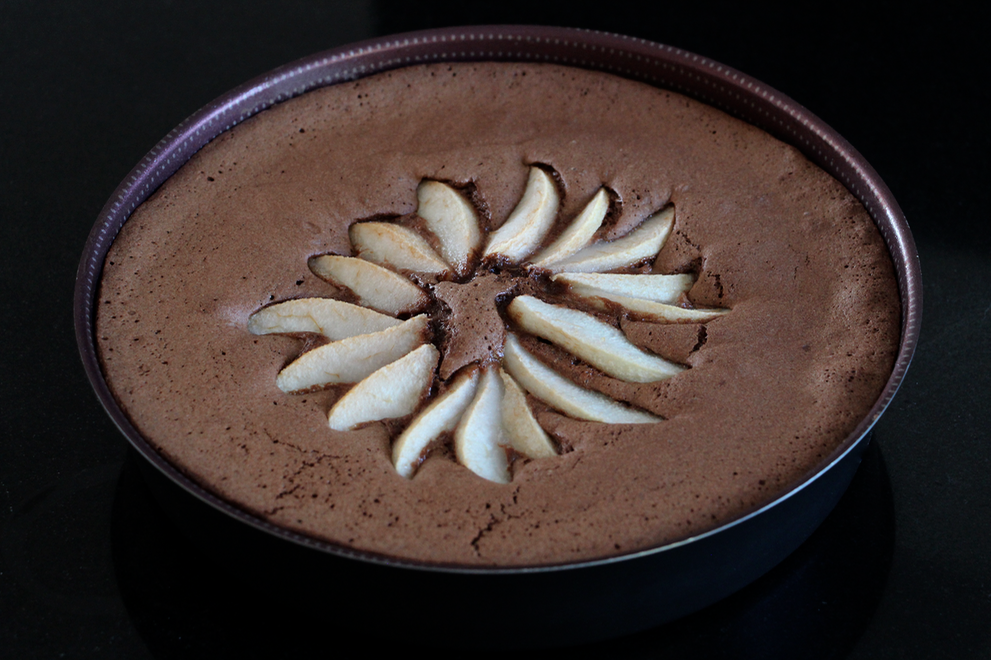
To put it in a nutshell, If you have the 10 minutes mandatory to prepare this chocolate and pear cake, don’t hesitate any longer…
Just do it! The recipe, Chef!
Preheat your oven at 180 degrees. Melt gently the chocolate and butter together in a pan. Separate the whites from the yolks. Mix the egg yolks with the sugar until you get a light yellow mousse. Add the chocolate and butter and mix. Add the flour and baking powder. Mix until you get a homogeneous mixture. Beat the egg whites firmly. Add them gently to the mixture with a spatula. Peel the pears and cut them in pieces. Pour the batter in a 26 cm diameter mold (already buttered and slightly covered with flour). Add the pears. Bake 30 minutes. At the end of the baking, let cool down in the mold for 5 minutes before putting the cake on a grid. If you don't have fresh pears, you can also use canned ones.Chocolate and Pears Cake
Ingredients
Instructions
Notes

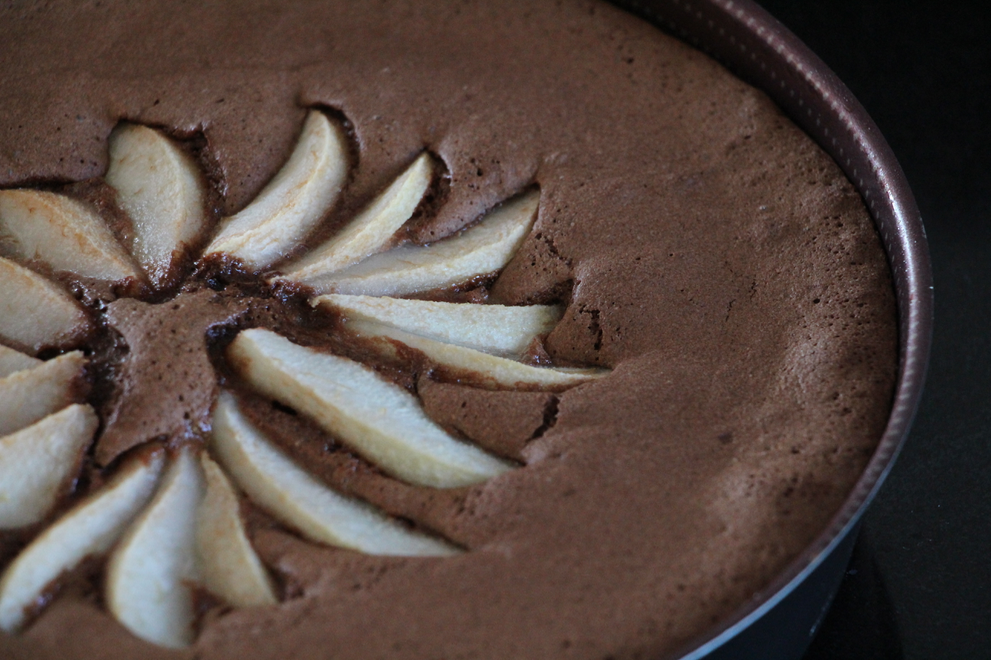

 ( Vote !)

12 Comments
Ewa
Saturday November 4th, 2017 at 06:10 PMCe gâteau est super simple et vraiment excellent. (même pour les nuls en cuisine ! ;).
Je recommande de le manger tiède, mais froid c’est bon aussi !
Emma
Saturday November 4th, 2017 at 06:45 PMMerci beaucoup Ewa pour ce commentaire !! Je suis d’accord, tiède c’est un délice !!
😉
Chastagner
Saturday November 4th, 2017 at 09:19 PMAgain ! Thanks for the recipe !
Cooked with the help of my 9 year old daughter and salted butter #normandy, We won again an award from the freaking master of chocolate @home ie My husband
Emma
Saturday November 4th, 2017 at 09:22 PMHe he !! You’re more than welcome !! Salted butter is a great idea !! I’ll try it next time !!
Xoxo
Nadine
Sunday November 12th, 2017 at 12:58 PMSimple à préparer et délicieux !! toute la famille en a raffolé ! en plus la découpe est jolie ! merci pour cette très belle recette.
Emma
Sunday November 12th, 2017 at 02:16 PMJ’en suis ravie Nadine ! Merci d’avoir pris le temps de laisser un petit mot pour les suivants ! 😉 Très belle journée et bon goûter !
Céline Dittlo
Saturday December 9th, 2017 at 12:58 PMJ’adore cette recette! Devenue un incontournable pour “passer” quelques poires oubliées dans la coupe! Et une bonne raison pour y glisser du chocolat ?
Emma
Saturday December 9th, 2017 at 01:39 PMMerci Céline ! C’est un incontournable ici aussi !! On adore !!
Morgane
Saturday February 27th, 2021 at 09:19 PMGâteau dans le four ?
Emma
Sunday February 28th, 2021 at 12:23 PMexcellent !!
Céline75
Thursday November 18th, 2021 at 10:00 AMSimple et excellent ! Il m’a fallu le cuire plus longtemps (15-20 min de plus) mais c’est sûrement parce que j’avais utilisé mon four en chaleur conventionnelle et pas chaleur tournante.
Merci pour cette recette !
Emma
Thursday November 18th, 2021 at 10:16 AMMerci Céline. Oui le temps de cuisson varie en fonction du mode choisi. La chaleur tournante est recommandée ici 😉