Bonjour les amis gourmands !
J’adore cette période de l’année !! Quand mon panier « primeur » rougit … Vive les fraises !! Vive le printemps !!
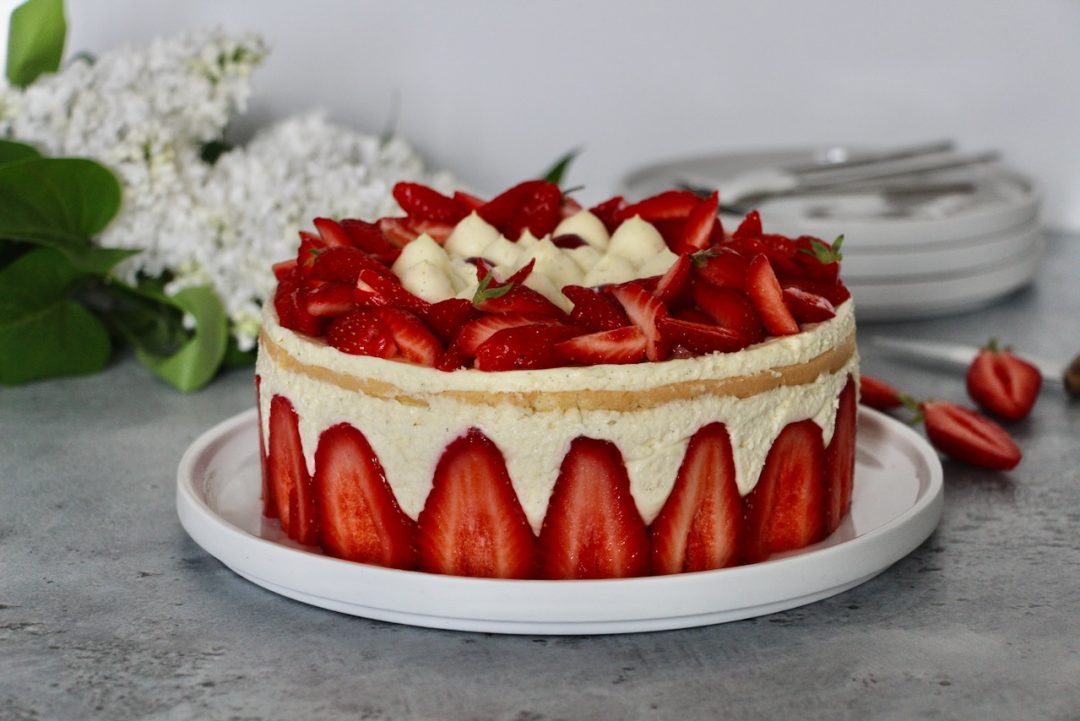
Et pour sublimer les fraises, mon péché mignon c’est le fraisier à la crème diplomate !
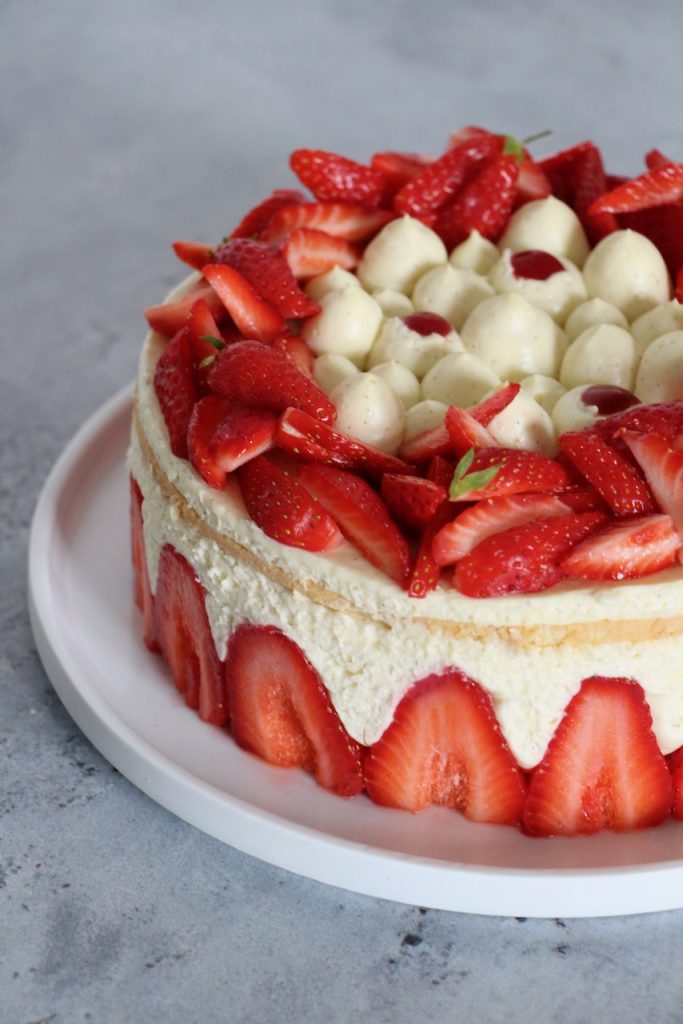
Vous avez déjà 2 recettes de fraisiers sur le blog :
– une de Philippe Conticini, le fraisier de la Saint Valentin
bref, que de grandes références !!
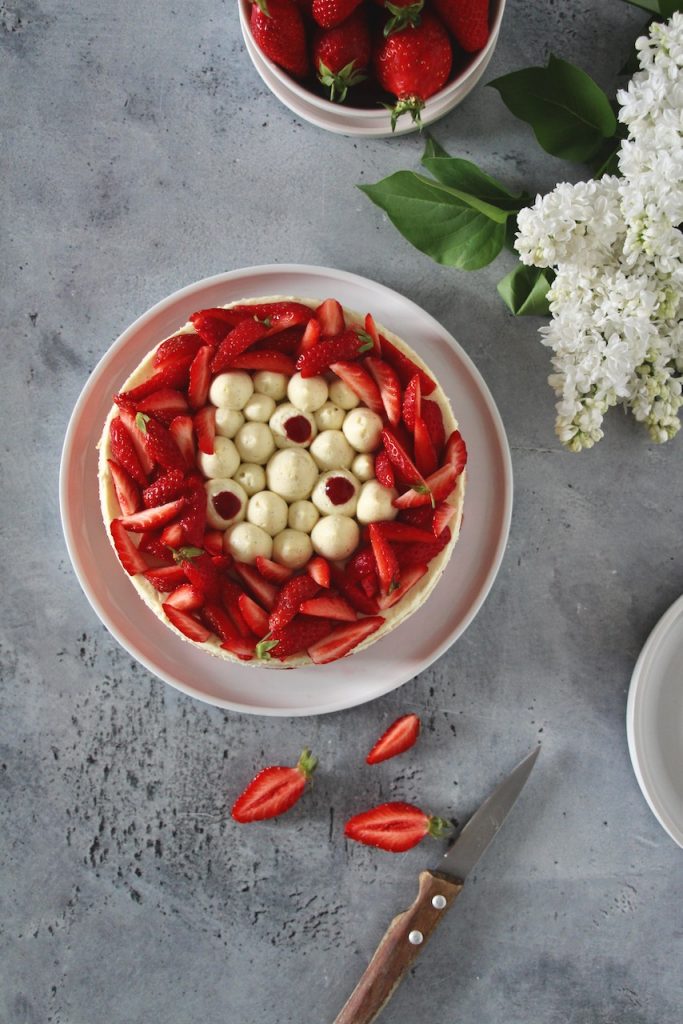
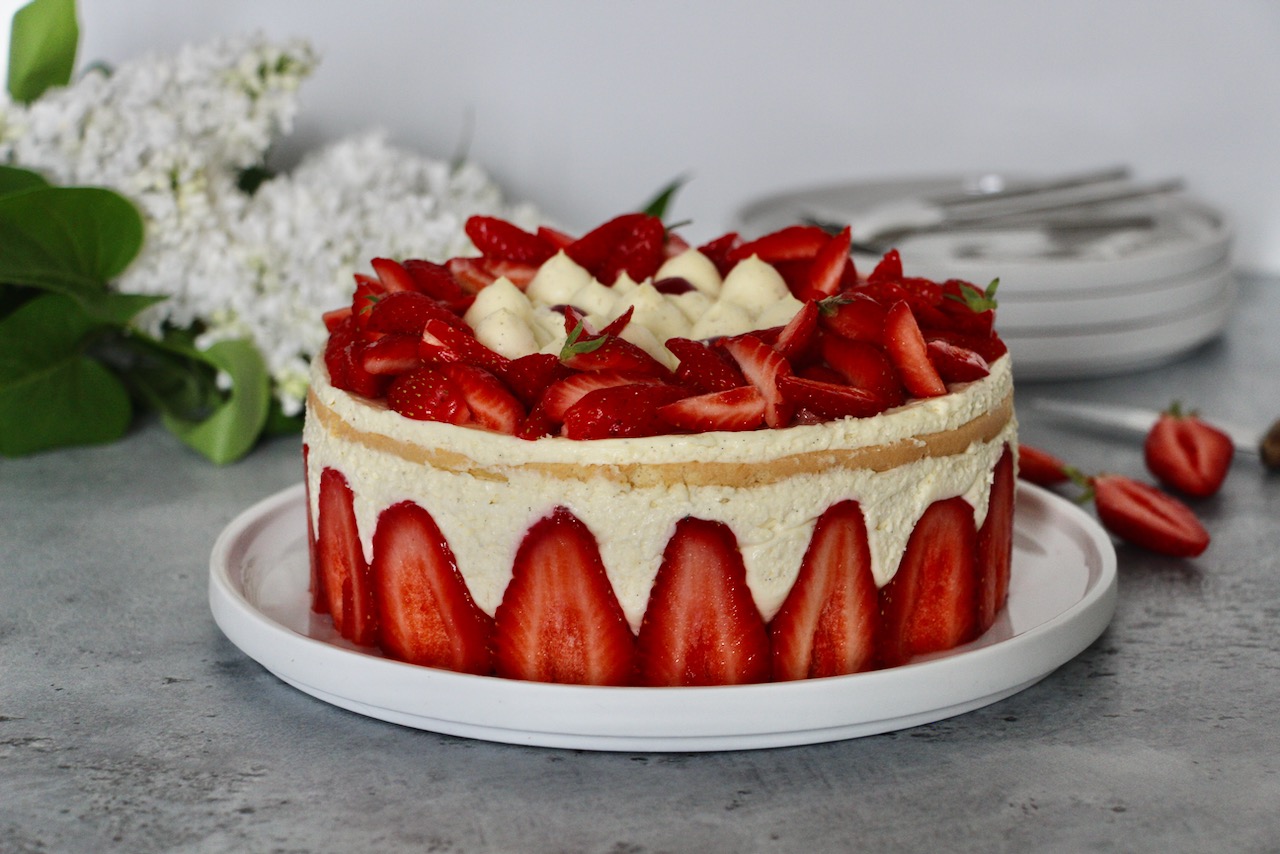
Aujourd’hui c’est donc le fraisier à la crème diplomate que je vous propose, je crois bien que c’est mon préféré …
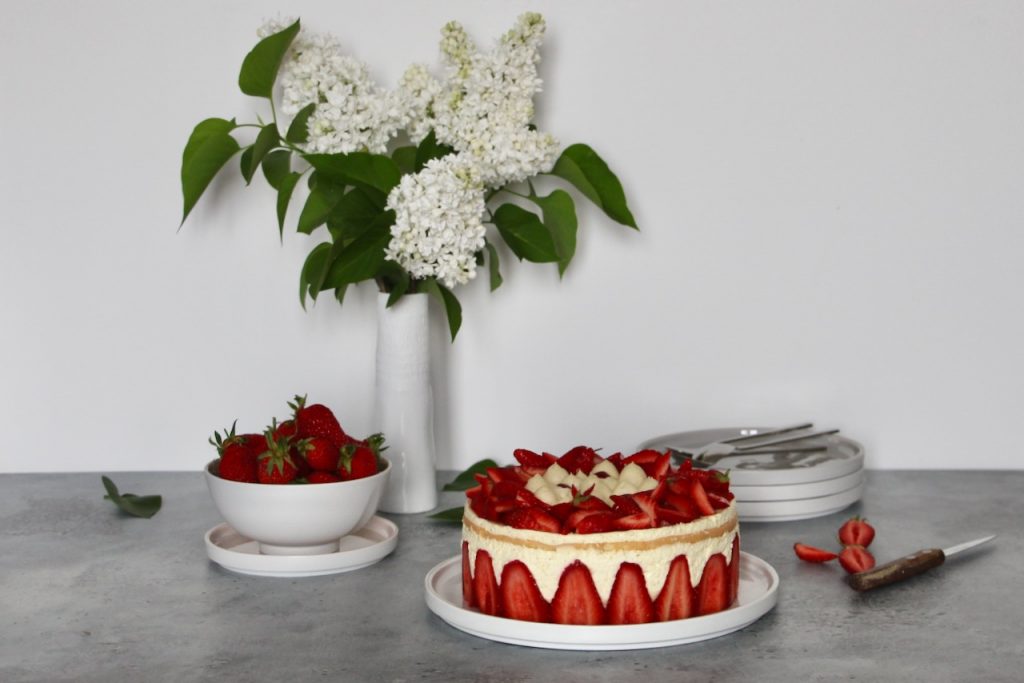
Pourquoi me demanderez-vous … tout simplement parce que c’est le plus léger, le plus aérien grâce à cette fameuse crème diplomate. C’est un mélange de crème pâtissière à la vanille et de crème fouettée, c’est vraiment très bon …
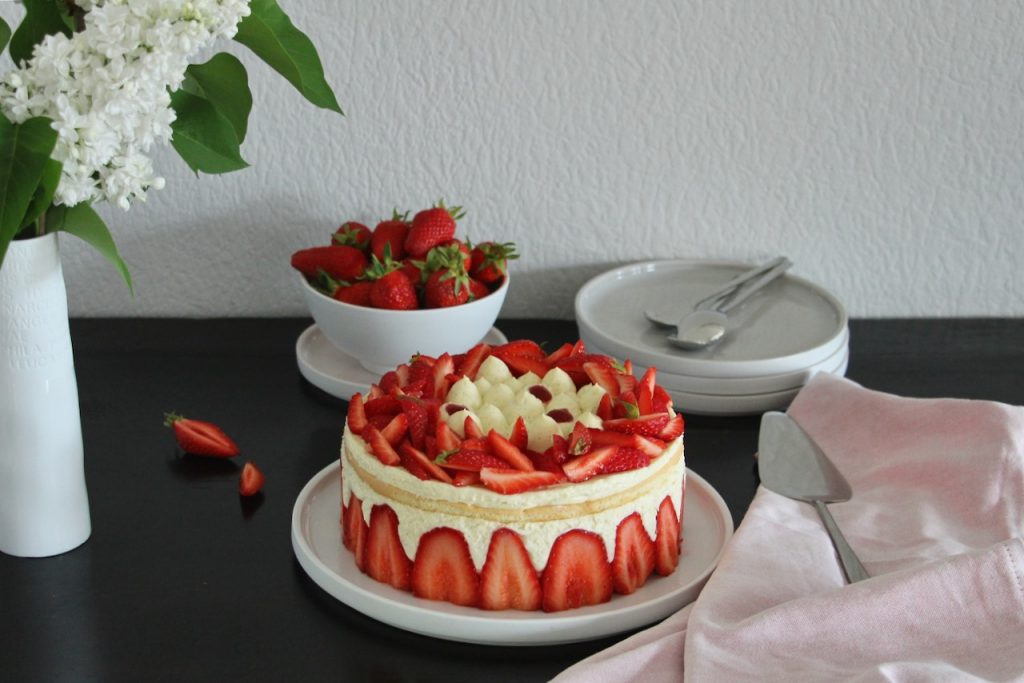
Pour le biscuit, j’ai pris un biscuit cuillère mais une génoise sera également très bonne.
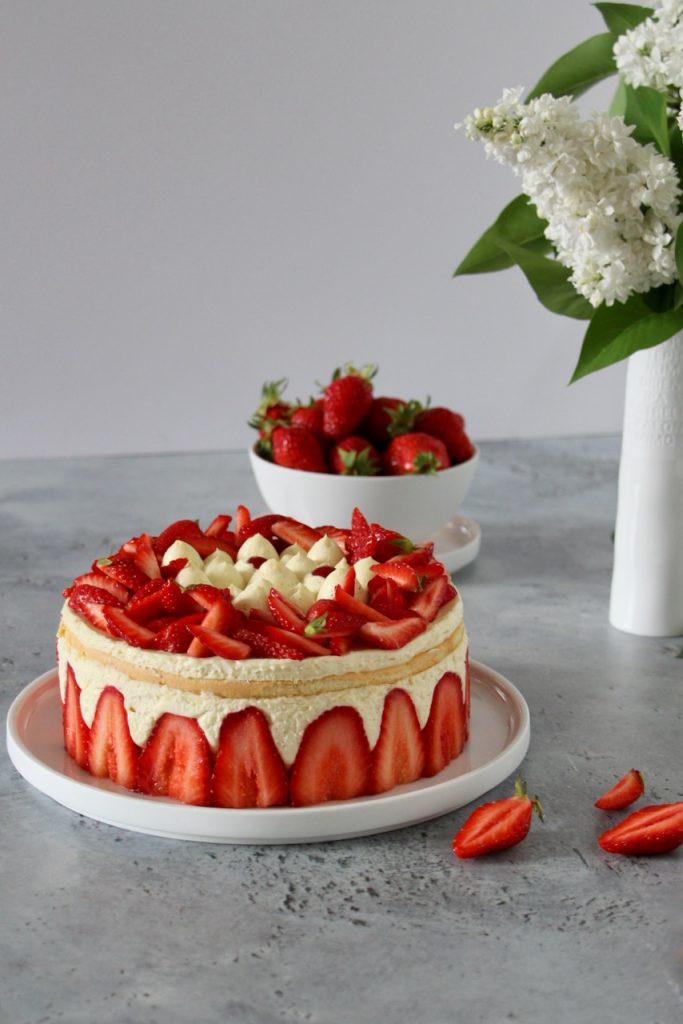
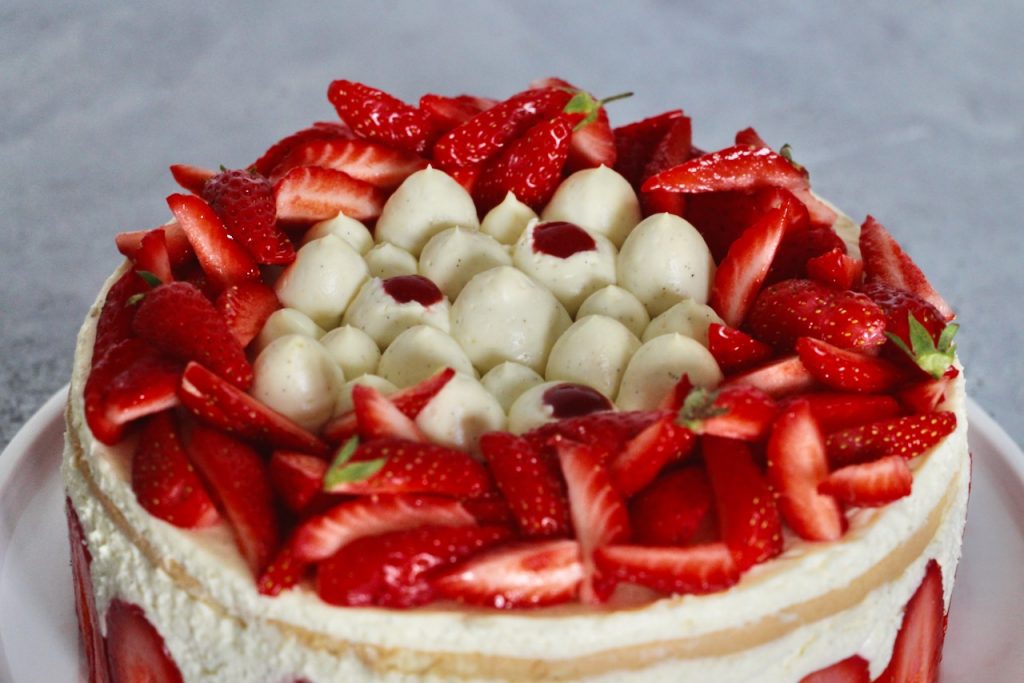
Le petit plus de ce fraisier, c’est l’insert de gelée de fraises qui se cache au cœur de ce fraisier à la crème diplomate. Une inspiration piochée parmi les créations gourmandes d’Aurélien Cohen …
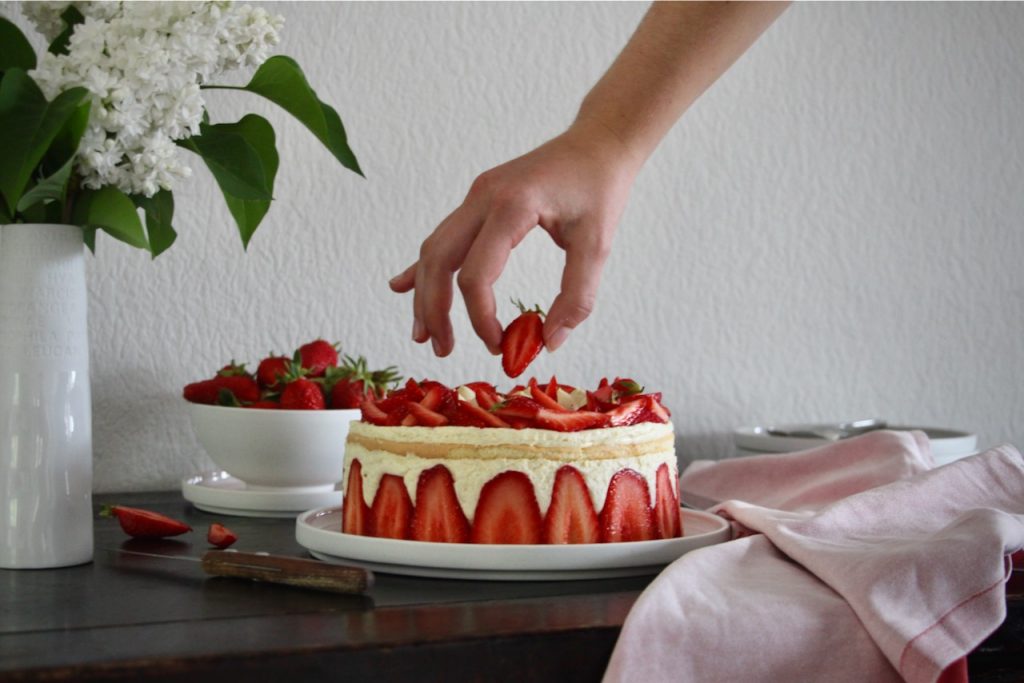
Cette recette nécessitera du matériel, de s’organiser un peu et surtout d’avoir du temps devant soi. Il y a pas mal de temps de pause, de refroidissement, du coup je vous mets 6 heures de temps de préparation sur la fiche recette. Comprenez bien que vous ne serez pas 6 heures en cuisine … mais que ce temps inclut les temps au réfrigérateur, en particulier le temps pour que l’ensemble prenne, une fois le fraisier monté.
Les (principaux) ustensiles nécessaires :
Une casserole,
Un mixeur plongeant ou un blender,
Un robot avec fouet (ou un batteur à main avec fouets),
Un tapis de cuisson,
Un cercle de 22 cm de diamètre et de 5 cm de hauteur (j’ai pris mon cercle à pâtisserie extensible De Buyer)
Du Rhodoïd,
Une poche à douille
Et une douille.
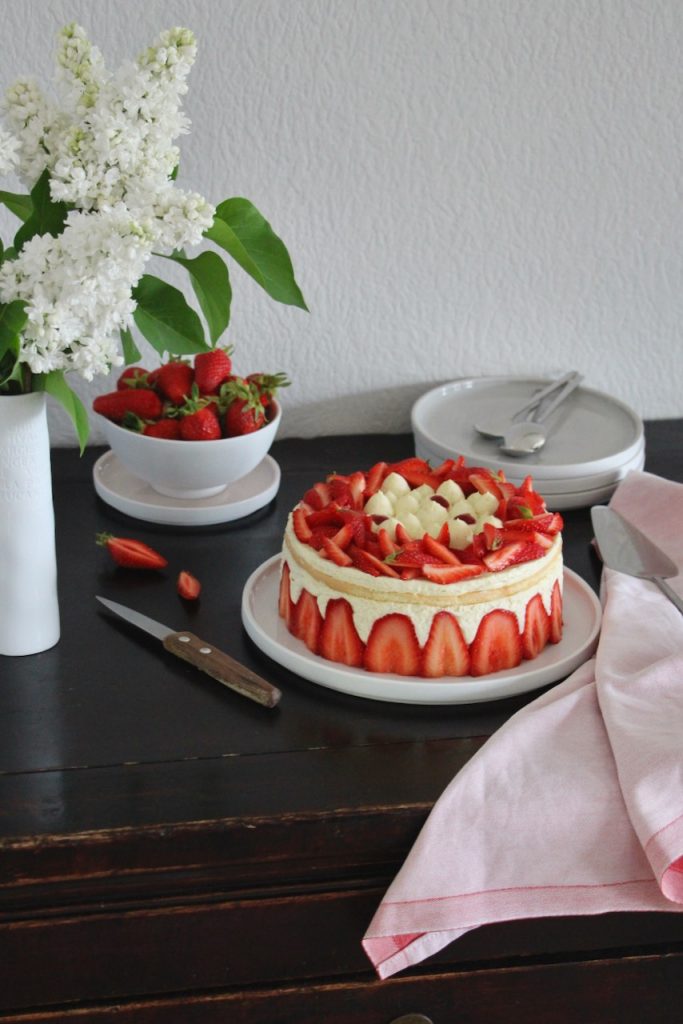
Lisez tranquillement la recette avant de vous lancer et allez-y ! et si vous cherchez d’autres recettes avec des fraises, cliquez ici !
La recette, Chef !
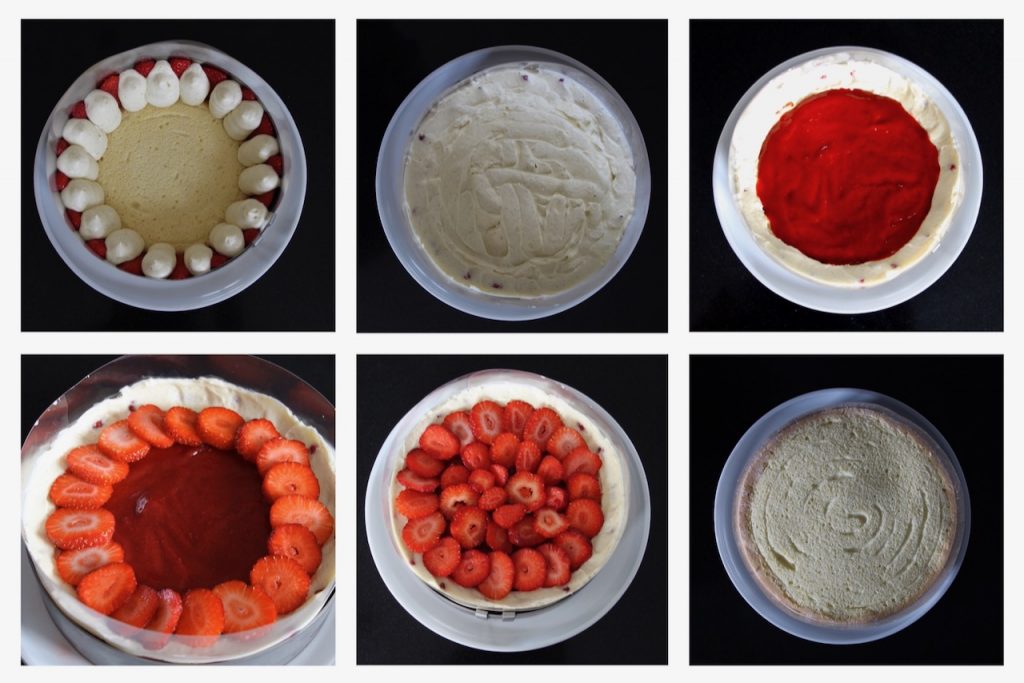
Biscuit cuillère Préchauffez votre four à 180 degrés. Versez les blancs d’œufs dans le bol de votre robot et fouettez. Quand le mélange commence à devenir bien ferme, ajoutez le sucre semoule. Une fois votre meringue bien ferme, ajoutez les jaunes d’œufs un à un en fouettant délicatement (vitesse 2 sur 6). Ajoutez finalement la farine tamisée et mélangez délicatement avec une spatule jusqu'à obtention d'un mélange homogène. Remplissez la poche à douille et faites deux disques, l'un de 16 cm et l'autre de 18 cm de diamètre. Saupoudrez de sucre glace. Cuisez 10 minutes. A la sortie du four, posez vos feuilles de papier sulfurisé sur le plan de travail. En refroidissant, la condensation de vapeur aidera à décoller les biscuits du papier. Laissez refroidir sur une grille. Concentré de fraises Mettez la feuille de gélatine dans de l'eau froide. Prenez 150 g de fraises, coupez-les en cubes. Mettez-les dans une casserole avec le sucre et le jus de citron. Chauffez jusqu'à avoir des petits bouillons. Laissez cuire ainsi 5 minutes. Retirez du feu puis mixez au mixeur plongeant. Réservez 2 cuillères à soupe de concentré, ajoutez la feuille de gélatine au reste de concentré. Versez-le dans un moule de 18 cm de diamètre recouvert d'un film alimentaire. Mettez au congélateur. Crème pâtissière Versez le lait dans une casserole et ajoutez-y la vanille coupée en deux et grattée. Faites bouillir et retirer aussitôt du feu. Laissez infuser pendant 15 minutes. Pendant ce temps, blanchissez les jaunes d’œuf et le sucre au fouet. Quand le mélange est bien homogène, ajoutez la fécule de maïs et fouettez à nouveau. Versez la moitié du lait sur la préparation. Mélangez bien. Versez l'autre moitié, mélangez à nouveau. Mettez toute la préparation dans la casserole et faites bouillonner à feux moyen pendant 2 minutes sans cesser de fouetter vivement. Retirez la crème du feu, ajoutez le beurre, mélangez bien, puis la gélatine essorée. Mélangez. Versez-la dans un plat et couvrez d'un film alimentaire au contact. Réservez au réfrigérateur. Chantilly Quand la crème pâtissière est bien froide, versez la crème liquide et le mascarpone dans le bol de votre robot et montez-les en chantilly. Réservez au réfrigérateur. Crème diplomate Détendez la crème pâtissière en la fouettant pendant une minute. Ajoutez-y la crème chantilly délicatement à la spatule. Réservez au réfrigérateur. Montage du fraisier Mettez le cercle à pâtisserie et le rhodoïd autour du bsicuit cuillère de 16 cm. Disposez les fraises coupées en deux, face contre le rhodoïd (voir photo). Pochez la crème diplomate entre les fraises et sur le biscuit. Etalez avec une spatule. Ajoutez le concentré de fraises congelé au centre. Ajoutez une couche de fraises coupées en cubes ou lamelles. Recouvrez de crème diplomate. Placez le deuxième biscuit. Recouvrez avec de la crème diplomate, étalez avec la spatule. Pochez le reste de crème au centre du fraisier. Finaliser la décoration avec des fraises fraîches et le concentré de fraises que vous aviez réservé. Réservez au frais jusqu'à dégustation.Le Fraisier à la Crème Diplomate
Ingredients
Instructions



 ( Vote !)

30 Comments
LadyMilonguera
2 mai 2020 at 10 h 06 minTon fraisier est juste sublime !
Emma
2 mai 2020 at 17 h 24 minOh merci tout plein !!
mailys kieffer
14 mai 2020 at 13 h 26 minJe voudrais faire votre fraisier pour un dîner mais je voulais savoir si l’on pouvait le faire 1 jour en avance ? Un grand merci et un grand bravo pour votre cuisine formidable.
Maïlys
Emma
14 mai 2020 at 15 h 26 minMerci Maïlys ! c’est super gentil ! Oui vous pouvez faire le fraisier la veille 😉
Alexandra Alzuyeta
9 juin 2020 at 10 h 16 minBonjour Emma, merci pour cette délicieuse recette et le pas à pas détaillé et très clair ! Effet réussi pour la fête des mères !
J’ai une interrogation tout de même en suspens: pourquoi faites vous un biscuit de 18cm de diamètre pour un cercle de pâtisserie de 20cm, alors que la photo montre un biscuit qui arrive au bord du gâteau ?
Merci merci d’avance ! Bonne journée.
Emma
9 juin 2020 at 12 h 45 minMerci Alexandra
Alors le biscuit ne va pas tout à fait au bord, il y a un peu de crème autour, d’où la dimension 😉
Miu
27 avril 2021 at 8 h 22 minSi je veux le faire avec un cercle qui ne va que jusqu’à 18cm au plus petit ? Je fais 18 et 20 et j’augmente les quantités de tout ?
Emma
27 avril 2021 at 8 h 30 minTu n’es pas obligée de prendre un cercle. Fais un marquage sur le dessous de ton papier sulfurisé et poche à l’intérieur du marquage. La pâte doit tenir sans problème 😉
Valerie
19 juin 2020 at 8 h 56 minBonjour Emma! Merci pour toutes ces délicieuses recettes! Petite question, j’aimerais réaliser ce fraisier pour demain, puis je realiser toutes les cremes aujourd’hui et effectuer le montage demain ou proceder au montage des aujourdhui ne changera rien (je pense au biscuit qui risque d’etre trop mouillé apres 24h non?). Autre question,le rhodoide est il indispensable? Merci ?
Emma
19 juin 2020 at 9 h 16 minBonjour Valérie !
Alors il faut le monter aujourd’hui. Gardez éventuellement la déco pour demain pour avoir de beaux fruits. Le biscuit ne sera pas mouillé.
Le rhodoide c’est bien pour éviter que tout colle au cercle et que le démoulage soit compliqué. Si vous n’en avez pas, mettez du film alimentaire en essayant de l’appliquer de façon lisse. Bonne pâtisserie !
Valerie
19 juin 2020 at 11 h 00 minC‘est adorable merci pour la reponse rapide! Belle journée a vous!
Valerie
22 juin 2020 at 8 h 25 minPetit retour post anniversaire…un delice!!!
Par contre je me suis un peu loupée en ajoutant sans doute trop de fraise au centre, du coup mauvaise répartition de la crème diplomate (n’en ai pas eu assez pour couvrir le disque du dessus ?) et espace trop important entre le disque du dessus et le bord du gateau (18 cm vs 22 cm ?) . Je remets ca le weekend prochain ?
Laëtitia
16 novembre 2020 at 6 h 02 minBonjour Emma
Étape 29 Tu parles de cream et mascarpone , mais il y a pas de cream ou mascarpone dans la list des ingrédients . S’il te plaît Pourrais tu me dire combien tu en met dans la recette .
Merci
Emma
16 novembre 2020 at 7 h 20 minHello Laëtitia,
A la fin de la liste 😉
150 g de crème liquide (pour la chantilly)
100 g de mascarpone (pour la chantilly)
Bonne pâtisserie !
Laëtitia
16 novembre 2020 at 8 h 03 minMerci de votre Quick réponse ! Let start baking !!
Emma
16 novembre 2020 at 8 h 08 minyay !!!
Isa
18 mai 2021 at 13 h 10 minBonjour,
Peut-on préparer le fraisier quelques jours avant et mettre au congélateur?
Les fraises tout le tour ne vont-elles pas être toutes ramolllies ?
Emma
18 mai 2021 at 17 h 31 minBonjour Isa,
Ce n’est pas possible. Effectivement les fraises ne supportent pas du tout la congélation, sauf pour être cuites après…
errabih
19 mars 2023 at 12 h 46 minMerci
Emma
19 mars 2023 at 20 h 35 minavec plaisir !
Marie
13 avril 2023 at 22 h 41 minBonsoir, je me lance demain dans la confection de ce fraisier pour les 10 ans de ma fille. J’aimerais en faire deux de taille différente pour les monter l’un sur l’autre et réaliser un gâteau étage.
Pensez vous que le fraisier du dessous va supporter le poids de celui du dessus?
Emma
14 avril 2023 at 17 h 06 minBonjour,
Oui ça ira sans souci. Attendez néanmoins que le fraisier du bas ait bien pris avant de poser l’autre par-dessus
Zaza
12 août 2023 at 17 h 26 minBonjour,
Pour 250 ml de lait ,combien dois je mettre de mascarpone et de creme liquide. Merci d’avance pour votre réponse
Emma
13 août 2023 at 3 h 16 minBonjour, vous mettez 2/3 des quantités initialement prévues
Hélène Beligné
23 avril 2024 at 10 h 46 minBonjour madame,
J’ai deux événements ce week end et j’aimerai faire votre fraisier pour dimanche…. Puis je le faire vendredi ou les biscuits seront ils trop mouillés?
Merci beaucoup.
Hélène
Emma
23 avril 2024 at 14 h 39 minBonjour Hélène, il n’y a pas de problème, les biscuits tiendront le coup. Sinon, vous pouvez faire une génoise, comme dans la recette du gateau rhubarbe fraise et vanille. https://www.casseroleetchocolat.fr/gateau-fraises-rhubarbe-vanille/
Perreard andree
6 mai 2024 at 9 h 04 minBonjour,
Petite question technique !! ? vous parlez d’un moule de 22 cm mais vous faites des biscuits de 16 et 18 cm. Je comprends pas la différence de taille ? Et aussi, est ce que vous posez les fraises sur le biscuit ou autour du biscuit ?
Merci et bonne journée.
Andrée
Emma
6 mai 2024 at 10 h 46 minBonjour,
les fraises sont contre le cercle, directement sur votre plat. Le premier biscuit de 16 cm vient au centre. Comme le bas des fraises est large, il faut réduire la taille du biscuit. De même pour celui de 18 cm, comme il est plus haut, à cette hauteur les fraises prennent moins de place, donc il est plus grand. J’espère que ça clarifie 😉
Andree
6 mai 2024 at 22 h 31 minC’est bien ce que je pensais. Merci de votre réponse. Je le fait pour jeudi. Hâte de déguster !!
Bonne soiree.
Emma
7 mai 2024 at 7 h 56 minBelle journée et bonne pâtisserie !